
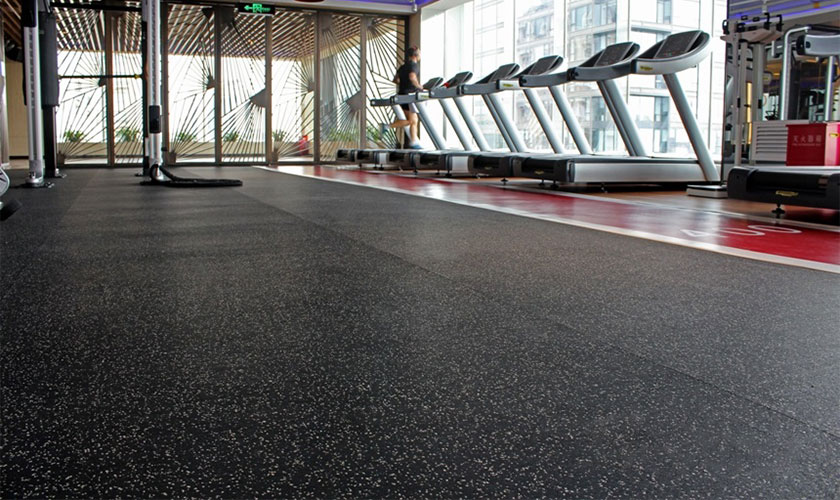
- Glue-Down Method: This method is widely used for Rubber flooring installation and requires the use of a special adhesive to secure the flooring in place. This method is best used for areas that are not subject to moisture, such as indoor gyms and fitness centers.
- Loose-Lay Method: This method is ideal for areas that may be exposed to moisture, such as locker rooms and bathrooms. The rubber tiles are simply laid on top of the existing flooring, and they are secured with double-sided tape. This method is easier and quicker than the glue-down method, but it is not as secure.
- Interlocking Tiles: This is another popular option for rubber flooring installation. Interlocking tiles are designed to fit together like puzzle pieces, and they are secured with a locking mechanism. This method is ideal for areas that need to be quickly and easily assembled and disassembled, such as trade show booths.
- Floating Floor Method: This is a newer option that is becoming increasingly popular. The rubber tiles are installed over an existing subfloor, with an adhesive layer between the two. This method is easier and quicker than the glue-down method, and it is also more secure.
Different Modes of Cleaning and Maintenance for Rubber Flooring
- Vacuuming: Vacuuming is one of the most effective ways to keep your rubber flooring clean and free of dirt, dust, and other debris. This is especially important if your rubber flooring is installed in a high-traffic area, such as a gym or school.
- Mopping: Mopping with a mop and cleaning solution designed specifically for rubber flooring is a great way to keep your rubber flooring looking its best.
- Spot Cleaning: When a spill or stain occurs, it’s important to clean it up as soon as possible. A mild detergent or cleaning solution is all you need to spot-clean your rubber flooring.
- Deep Cleaning: Deep cleaning your rubber flooring every 6-12 months is a great way to keep it looking its best. This involves using a special rubber floor cleaner and scrubbing the floor with a soft brush or mop.
- Waxing: Waxing your rubber flooring every six to twelve months is also a great way to keep it looking its best. This helps protect the floor from scuffs, scratches, and other damage.
- Sealing: Sealing your rubber flooring can help protect it from spills, stains, and other damage. This is especially important if your rubber flooring is installed in a wet area, such as a bathroom or pool area.
Creative Uses for Rubber Flooring in Interior Design
- Kitchen Floors: Rubber flooring can be a great option for kitchens, as it is easy to clean and provides excellent slip resistance, making it an ideal choice for busy family kitchens.
- Bathroom Floors: Rubber flooring is also an excellent choice for bathrooms, as it is water resistant and provides excellent traction and slip resistance.
- Playroom Floors: Rubber flooring is a great option for playrooms, as it is soft and provides excellent cushioning for children playing on it.
- Basements: Rubber flooring is a good choice for basements, as it is durable and easy to clean. 5. Entryway Floors: Rubber flooring is a great choice for entryways, as it is durable and provides a great look and feel.
- Home Gyms: Rubber flooring is a great choice for home gyms, as it provides excellent cushioning and slip resistance for workout activities.
- Home Offices: Rubber flooring is an excellent choice for home offices, as it is easy to clean and provides a comfortable working environment.